
Welcome to Dannico Woodworks, where quality meets innovation in children’s furniture! As a father and woodworker, I’ve seen firsthand how the right furniture can transform a child’s space.
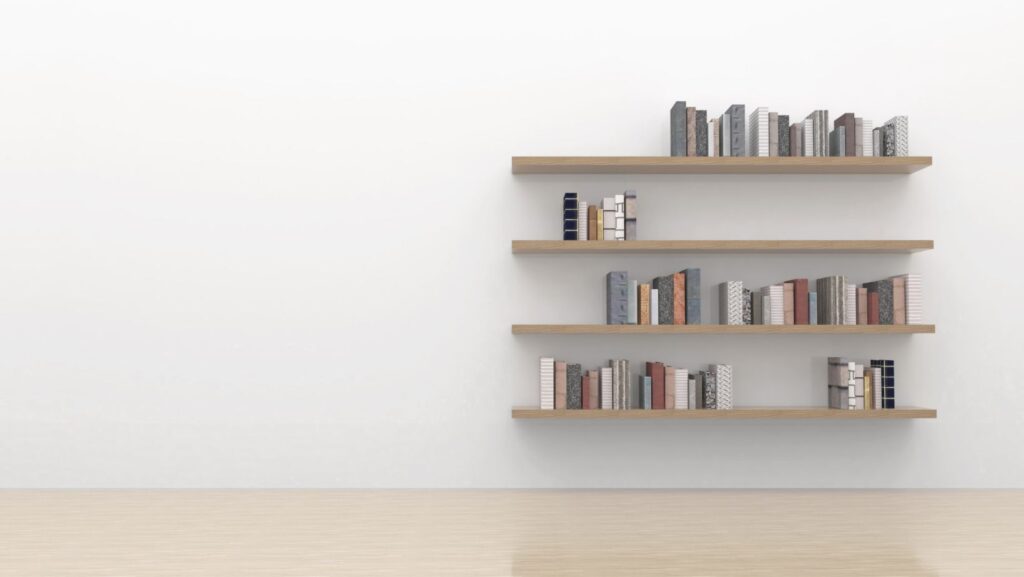
One piece that consistently stands out in Montessori-inspired homes is the Montessori bookshelf.
These low, accessible shelves empower children to choose their own books, fostering independence, decision-making, and a lifelong love for reading.
But here’s the twist—what if your Montessori bookshelf could also serve as hidden storage? Parents know the struggle of keeping toys, puzzles, and art supplies organized.
A cleverly designed bookshelf with concealed storage is the perfect balance of functionality and style.
In this guide, we’ll walk through how you can build your own DIY Montessori bookshelf with hidden storage—step by step.
You’ll discover how simple adjustments can make a big difference in both your child’s daily life and your home’s organization.
Why a Montessori Bookshelf Matters
The Montessori method emphasizes independence and accessibility. A bookshelf built to a child’s height allows them to see, reach, and choose books without adult help.
Unlike tall, cluttered bookshelves, these child-sized designs make it easy for kids to engage with reading on their own terms.
Adding hidden storage takes it a step further:
- Declutter the room: Keep toys, games, and seasonal items out of sight.
- Maximize space: Perfect for smaller homes or play areas.
- Dual functionality: A reading hub plus a storage solution in one piece.
- Stylish design: Blends beautifully with both modern and traditional interiors.
Materials You’ll Need
Before you get started, gather your tools and materials. You don’t need a fully equipped workshop to build this—just some basic woodworking tools and patience.
Tools:
- Circular saw or table saw
- Drill with bits and screwdriver attachments
- Tape measure
- Sandpaper (120 and 220 grit)
- Clamps
- Paintbrush or roller
Materials:
- Plywood sheets (¾-inch for structure, ½-inch for backing)
- Wood screws
- Wood glue
- Hinges (for the hidden storage lid)
- Safety soft-close lid support (to prevent pinched fingers)
- Non-toxic paint or wood finish
- Edge banding (optional) for a polished look
How do I Build a Montessori Bookshelf with Hidden Storage?
Step 1: Measure and Cut the Panels
Decide on the size of your bookshelf. A good rule of thumb is around 24–30 inches high, so your child can easily reach all the shelves. Typical dimensions:
- Height: 28 inches
- Width: 30–36 inches
- Depth: 12–14 inches
Cut the following pieces from your plywood:
- 2 side panels
- 3 horizontal shelves (top, middle, bottom)
- 1 back panel
- 1 storage box (bottom hidden compartment)
Step 2: Assemble the Frame
- Attach the side panels to the bottom shelf using wood screws and glue.
- Add the middle shelf at child-accessible height (about 10–12 inches from the bottom).
- Secure the top shelf.
- Clamp everything and let it dry.
Step 3: Add the Back Panel
The back panel gives stability. Use ½-inch plywood and attach with screws along the edges.
Step 4: Create the Hidden Storage Box
Here’s where the “hidden” part comes in. Build a shallow storage box at the base of the bookshelf:
- Construct a box about 6–8 inches tall.
- Attach it beneath the bottom shelf.
- Install a hinged lid that blends seamlessly with the bookshelf’s baseboard.
Use soft-close lid supports so kids can safely open and close the storage compartment without risk.
Step 5: Sand and Smooth
Go over all edges with 120-grit sandpaper, then finish with 220-grit. This ensures no sharp edges for little hands.
Step 6: Paint or Finish
Use child-safe, non-toxic finishes. You can keep it natural with a clear sealant or go for a warm pastel to brighten the playroom.
Step 7: Final Touches
- Add edge banding for a professional finish.
- Test the lid mechanism several times to ensure smooth operation.
- Place the bookshelf against a wall and secure it with anti-tip hardware.
Montessori Tips for Using the Bookshelf
A bookshelf is more than storage—it’s a teaching tool. Here’s how to maximize its benefits:
- Rotate books: Instead of cramming dozens of books, display 6–8 at a time with covers facing forward. This keeps choices fresh and less overwhelming.
- Make it inviting: Add a cozy reading rug or small chair nearby.
- Encourage independence: Let your child decide which books to read and when to put them away.
- Use the hidden storage wisely: Keep less-used toys, seasonal books, or art supplies inside the concealed compartment.
FAQs
What age is a Montessori bookshelf best for?
These shelves are ideal for toddlers (around 1 year) up to preschoolers. The child-sized design ensures accessibility as they grow.
Is hidden storage safe for kids?
Yes, as long as you use soft-close lid supports and ensure no sharp edges. Always test before use.
Can I make this without power tools?
You’ll need at least a saw and drill. However, many home improvement stores will cut plywood to size for you, making the project more manageable.
How much does it cost to build?
On average, expect to spend $80–$120 on materials, depending on the size and finish. This is still far less than many pre-made Montessori shelves with added storage.
How do I secure the bookshelf to the wall?
Always use anti-tip hardware, especially if your child will climb or pull on the shelf. Safety first.
Conclusion
A DIY Montessori bookshelf with hidden storage is more than just a piece of furniture—it’s an investment in your child’s independence, creativity, and your home’s organization.
By combining child-accessible design with clever functionality, you’re creating a space where your child can learn and thrive while keeping clutter under control.
At Dannico Woodworks, we believe children’s furniture should be practical, safe, and beautifully crafted. That’s why we’re passionate about sharing projects like this one with parents who want to build a nurturing home environment.
So, if you’re ready to roll up your sleeves and start building, here’s the question: What will you store in your hidden Montessori bookshelf—books, toys, or something else entirely?